
Platformer Dynamic Navigation 1/n
Platformer Dynamic Navigation 1/n
Constrained Delaunay Triangulation


In my 2D platformer, I started to face an interesting problem while trying to develop some behaviours for some boss. It was very hard to have complex navigation behaviour, as the AI navigation system was kind of lacking abilities. Here what it has at its disposition:
It can know if it is grounded,
It can raycast all around it, based on different gameplay masks.
And it can scan its surroundings to find entities it is looking for in a certain area.
All of this is good for an AI based on reactions : if there is a wall in front => change direction, if there is a gap soon => jump, if not grounded = > start flying, but it cannot solve navigation problems, like find a specific item nearby and go pick it up, as it cannot generate a path to the item nor check that it can go there.
So my first attempt at navigation was to generate a grid each frame for each agent, recording empty cells, and then search a path from point A to point B. It works most of the time, but is very finicky to get right and very dependant of the cell size, so I would like to have a very robust solution which would work everywhere.
The first problem to tackle to have a robust solution is to have an exact definition of the navigable area. The grid I had was an approximation of this area and had multiple drawbacks as seen in the video. So instead of trying to fix and hack around something that will never be exact, let’s try to find the exact representation of the navigation area.
Disclaimer: The assets in the video all comes from the awesome Spelunky or Spelunky 2, game that you should go play if you haven’t already. None of it is mine, this is just placeholder, and is all property of Mossmouth.
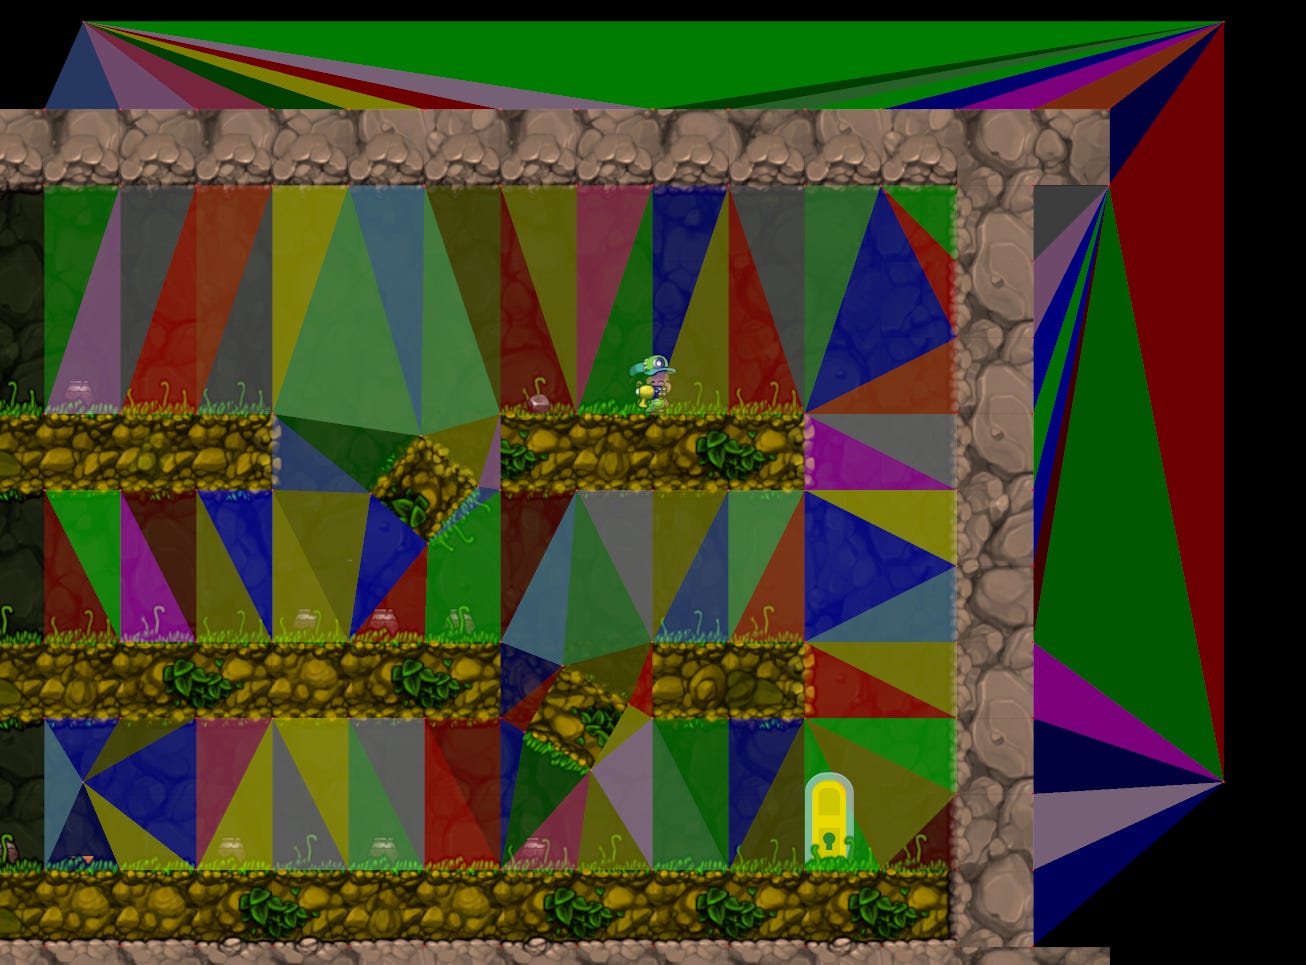
Example of the grid generation navigation, with rotating entities, not great
Game development already have a solution for this, in the shape of navmesh (Navigation Mesh). It is a triangulation of a surface, that allows to generate paths. It is often baked beforehand with static data, but my game is about a randomly generated world with destructible terrain and random rules that could change the navigation so we’ll do a dynamic version. Let’s try to see if we can roll our own navmesh generation, with constraints (to dig holes in the navmesh), and make this fast enough to be able to generate a different one for multiple agents each frame.
First, as we do implement this from scratch, we need a way to triangulate a surface, that will be good enough for navigation, and have the ability to remove obstacles from it.
Triangulate Away !
Let’s imagine that we have a lot of points that represents a surface. A triangulation will cover all of that surface with triangles, including all the points. A triangle is composed of 3 edges, and an edge is compose of 2 points.

We will do an algorithm based on S Hull algorithm. Here a rough overview of the algorithm:
Take the point closer to the center of all the points (named A).
Pick the closest point to A (named B).
Pick C, the third point so that the circumcircle (aka the circle that pass through the 3 points of the triangle) has the smaller surface. Add the formed triangle to the list ( ABC), and store it as the current hull (aka the englobing shape). You need to keep the hull points in clockwise order.
Sort the remaining points based on the distance from the center of the ABC circumcircle.
Now iterate over every remaining points in the sorted order. The goal is to incoporate next closest point D during each iteration.
Select the point on the hull that has the closer angle from the original circumCircle. To calculate that, I take the vector from the center to the point we want to add (CD), and I project (with a dot product) each point of the hull onto it. And I select the one with the highest score, meaning the closest to D. That gives us point E.

Hull point selection, we select point 2 Now, we need to add this point to the hull. We know that we have the edge DE, but we must find the third point to add. For this we have two candidates, which are the previous and next points of the hull ( F and G in the image). All we need is find one that create a valid triangle, so we just need to check that the point is on the outside side of the hull from the edge. To check that, you take the perpendicular to that edge, and dot product against it. Once you have a valid point, add the triangle (EDG in the image), and update the hull (FEDG).

Now, adding the point could means that our hull is now not convex anymore, so we now add triangles to make it convex again. We march forward on the hull checking, that the triangle formed by the 3 hull point is clockwise. On the image, ABC is not clockwise, so we add the triangle, and remove the middle point of the hull (B). ACF is clockwise, so we stop marching forward. We do the same thing backward, EDA is not clockwise, so we add the triangle, and remove D from the hull. GEA is clockwise, so our fixing step is done.

Do this until you run out of points !


So if we follow this algorithm, we’ll have a triangulation, but not a very usefull one, at least for navmesh purposes. We’ll have long small triangles an big chunky ones. We would prefer a more area distributed one. And this is where Delaunay comes in.

Make it Delaunay
A delaunay triangulation, is a triangulation wher eonly the points creating a circum circle are inside it.
The good news is any triangulation can be transformed into a Delaunay triangulation quite easily. Iterate over your edges, and if the edge is shared by 2 triangles, check that the circumCircle created by the first triangle does not include the other point of the second triangle. In the image, the circle created by the ABC triangle, does include the D point. To fix that, we inverse the internal edge, from AB, to CD .


Juts keep iterating on all the edges, flipping edges, until no more ill cases.
For now, for simplicity, we do this thing in itw own pass, meaning we triangulate first and then we make that triangulation delaunay. Obviously, you could enforce a Delaunay triangulation while doing the triangulation. But the code would probably be more complicated and for a first iteration I prefer to keep simpler code. We’ll probably improve on this in a next post.

Adding Constraints
To make a navigation mesh, we must be able to poke holes in our navmesh, inserting the obstacles that would prevent the agent from walking here. To poke those holes, we will use this algorithm, which works like this :
Iterate over the edges of you constraints. For each edge A do:
Make a list of all the edges intersecting edge A.
Take the first edge of that list, B. Find the 2 triangles that shares it. If those 2 triangles do not create a convex polygon, put B at the back of the list.
Otherwise, flip B (like we did for the delaunay’s method) to create C. If C intersects your constraint edge put it back in the list.
Repeat b until the list is empty.
This algorithm forces the constraints edges to be included in your triangulation. If your constraints forms a convex shape, you can then remove the inside triangles. You can easily check this for a triangle by iterating over the constrained edges, take the perpendicular and taking the dot product with the triangles points. If the triangle points are on the inside for every edge, then the triangle is inside. And the previous algorithm made sure that you had a contained triangulation inside (no edge crossing) so removing those triangles will make a nice hole.
So we now have a navmesh, generated on the fly, that now corresponds to the exact movable area, with the added beenfit that the number of triangles are a lot less that the corresponding grid (but at a higher cost). For now, we generated everything using the most straightforward data structures, meaning an array of points, with their X, Y coordinates, and an array of triangles which are just 3 indexes of the points. This is great for putting it together fast, but we do not have any informations on triangles adjacency, or shared edges, which will be a big slowdown for the navigation part (and even for this algorithms, probably).
But this is enough for this post, as we already implemented a successful constrained delaunay triangulation.
So come back for the second part, where we’ll try to improve on this, speed up the process and get more infomations out of it, to prepare for the navigation part.
Thank you for reading.